🌏 The Earthquake That Whispers to My Smart Home
It started with a quiet question: Can my home know when the earth shakes—before I do?
I wasn’t looking for sirens or dramatic alerts. I just wanted my home to respond gently, like turning on hallway lights or sending a message to my phone. Something subtle, but fast.
That’s when I discovered a public MQTT server, generously shared by a member of the Home Assistant Japan Facebook group, that broadcasts real-time earthquake data from the Japan Meteorological Agency (JMA) . And with a few careful steps, I made my smart home listen.
🧠 What Is MQTT, and Why Does It Matter?
Section titled “🧠 What Is MQTT, and Why Does It Matter?”MQTT is a protocol—a way for devices to talk to each other. But I like to think of it as a whisper network. Instead of shouting updates across the internet, MQTT quietly delivers messages to your smart home, fast and efficiently.
In this case, the message is:
An earthquake just happened in Tokyo.
And your home can respond however you want.
🪜 The Setup: Calm, Local, and Open
Section titled “🪜 The Setup: Calm, Local, and Open”I use Home Assistant OS (HAOS), which makes MQTT integration straightforward. Here’s how I connected to the earthquake alert server—step by step, with no coding required.
✅ Step 1: Create a Dedicated MQTT User (Recommended)
Section titled “✅ Step 1: Create a Dedicated MQTT User (Recommended)”Before connecting anything, it’s best to create a separate user just for MQTT. This keeps your system secure and organized.
- Limits access to only MQTT
- Keeps your main Home Assistant account safe
- Prevents remote login
How to do it
Section titled “How to do it”- Go to Settings > People
- Click on the Users tab
- Click + Add Person
- Name it something like
Home Assistant MQTT - Set a username and password (e.g.,
home_assistant_mqtt/securepassword) - Uncheck administrator, check local access only
This user will be used when setting up the MQTT integration in the next step.
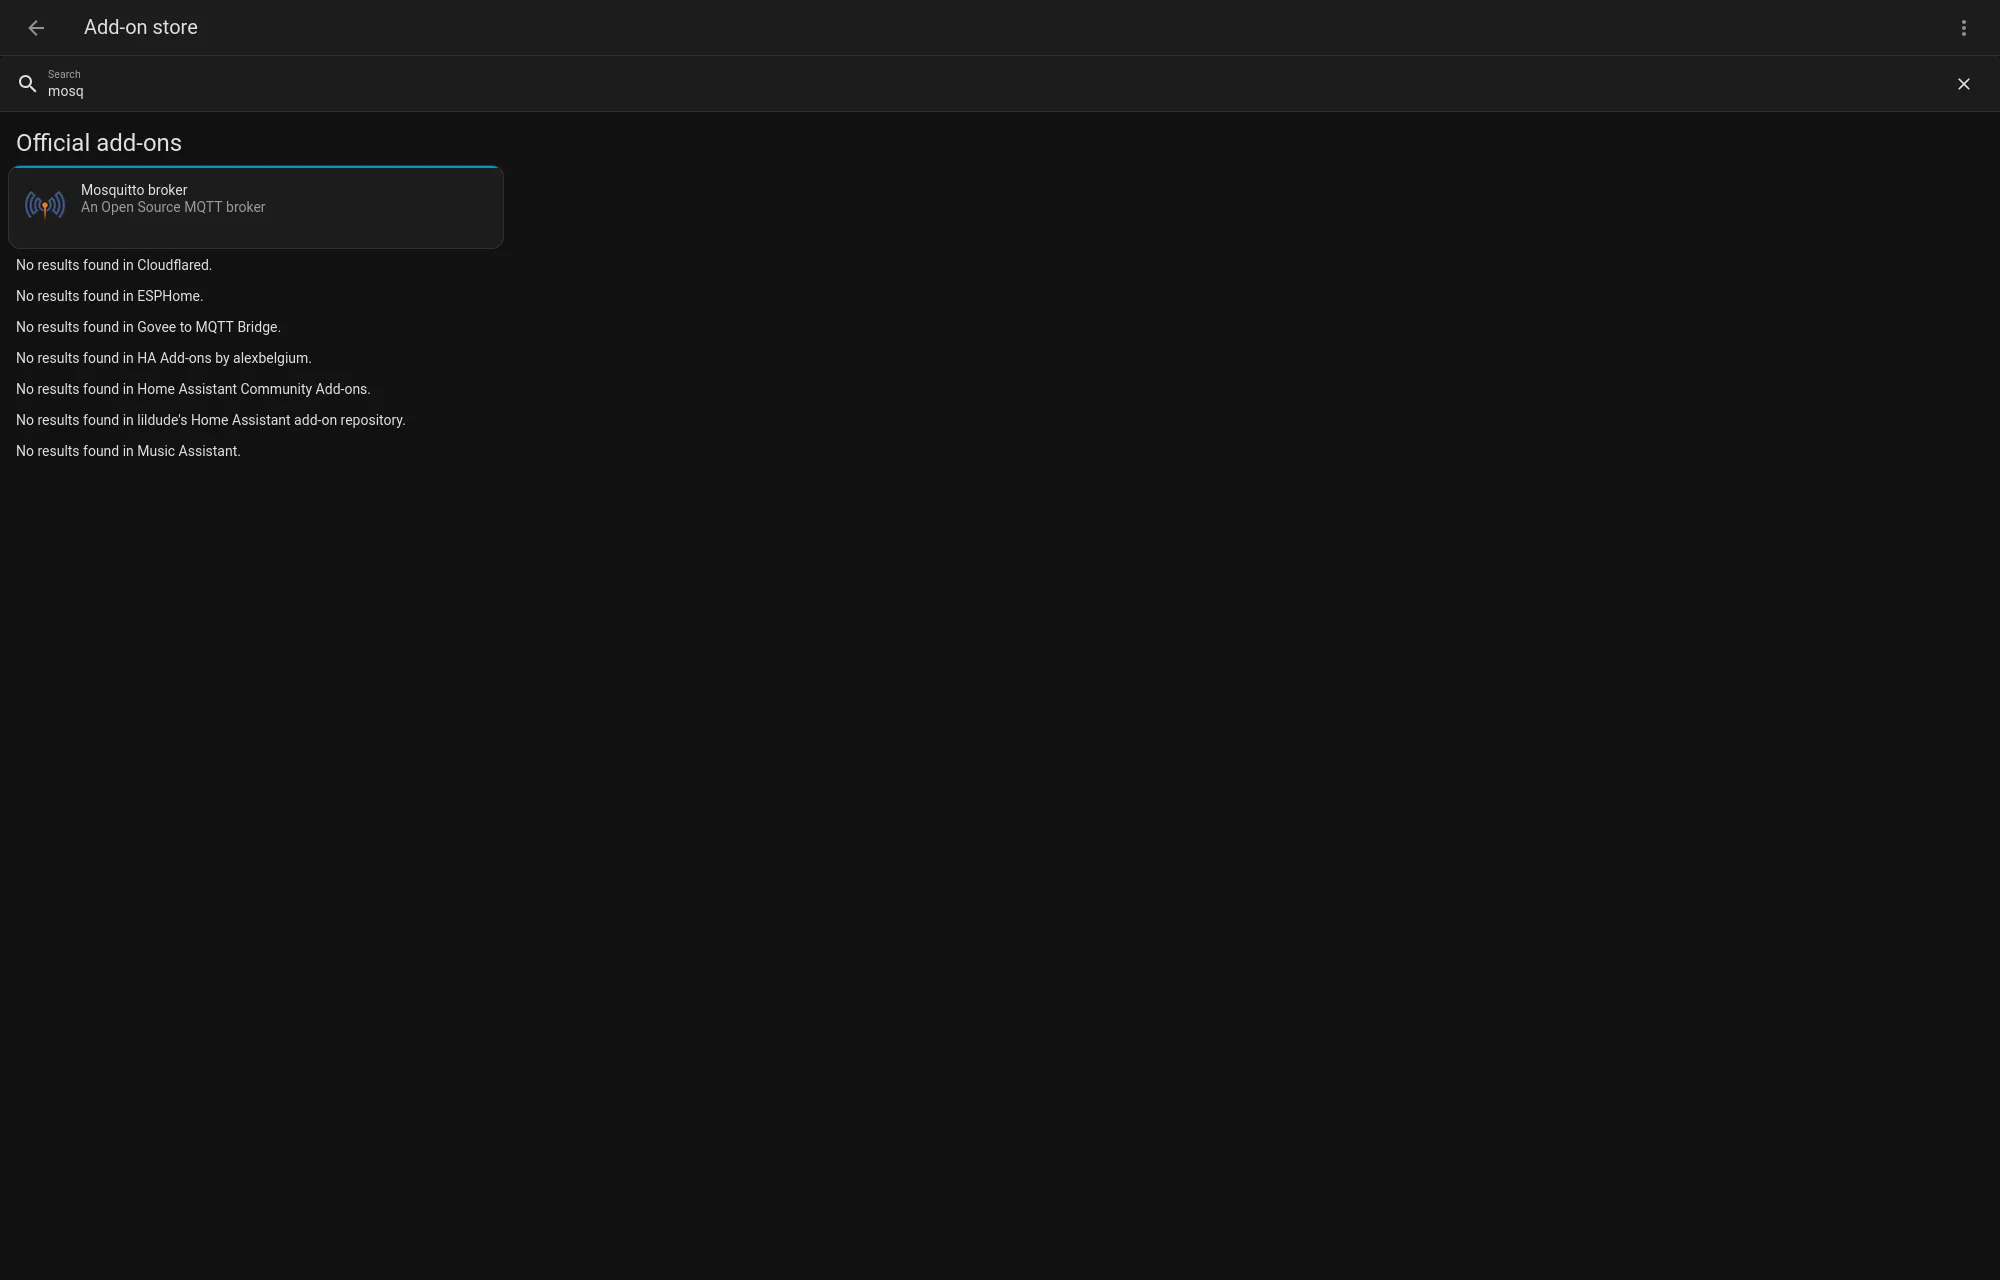
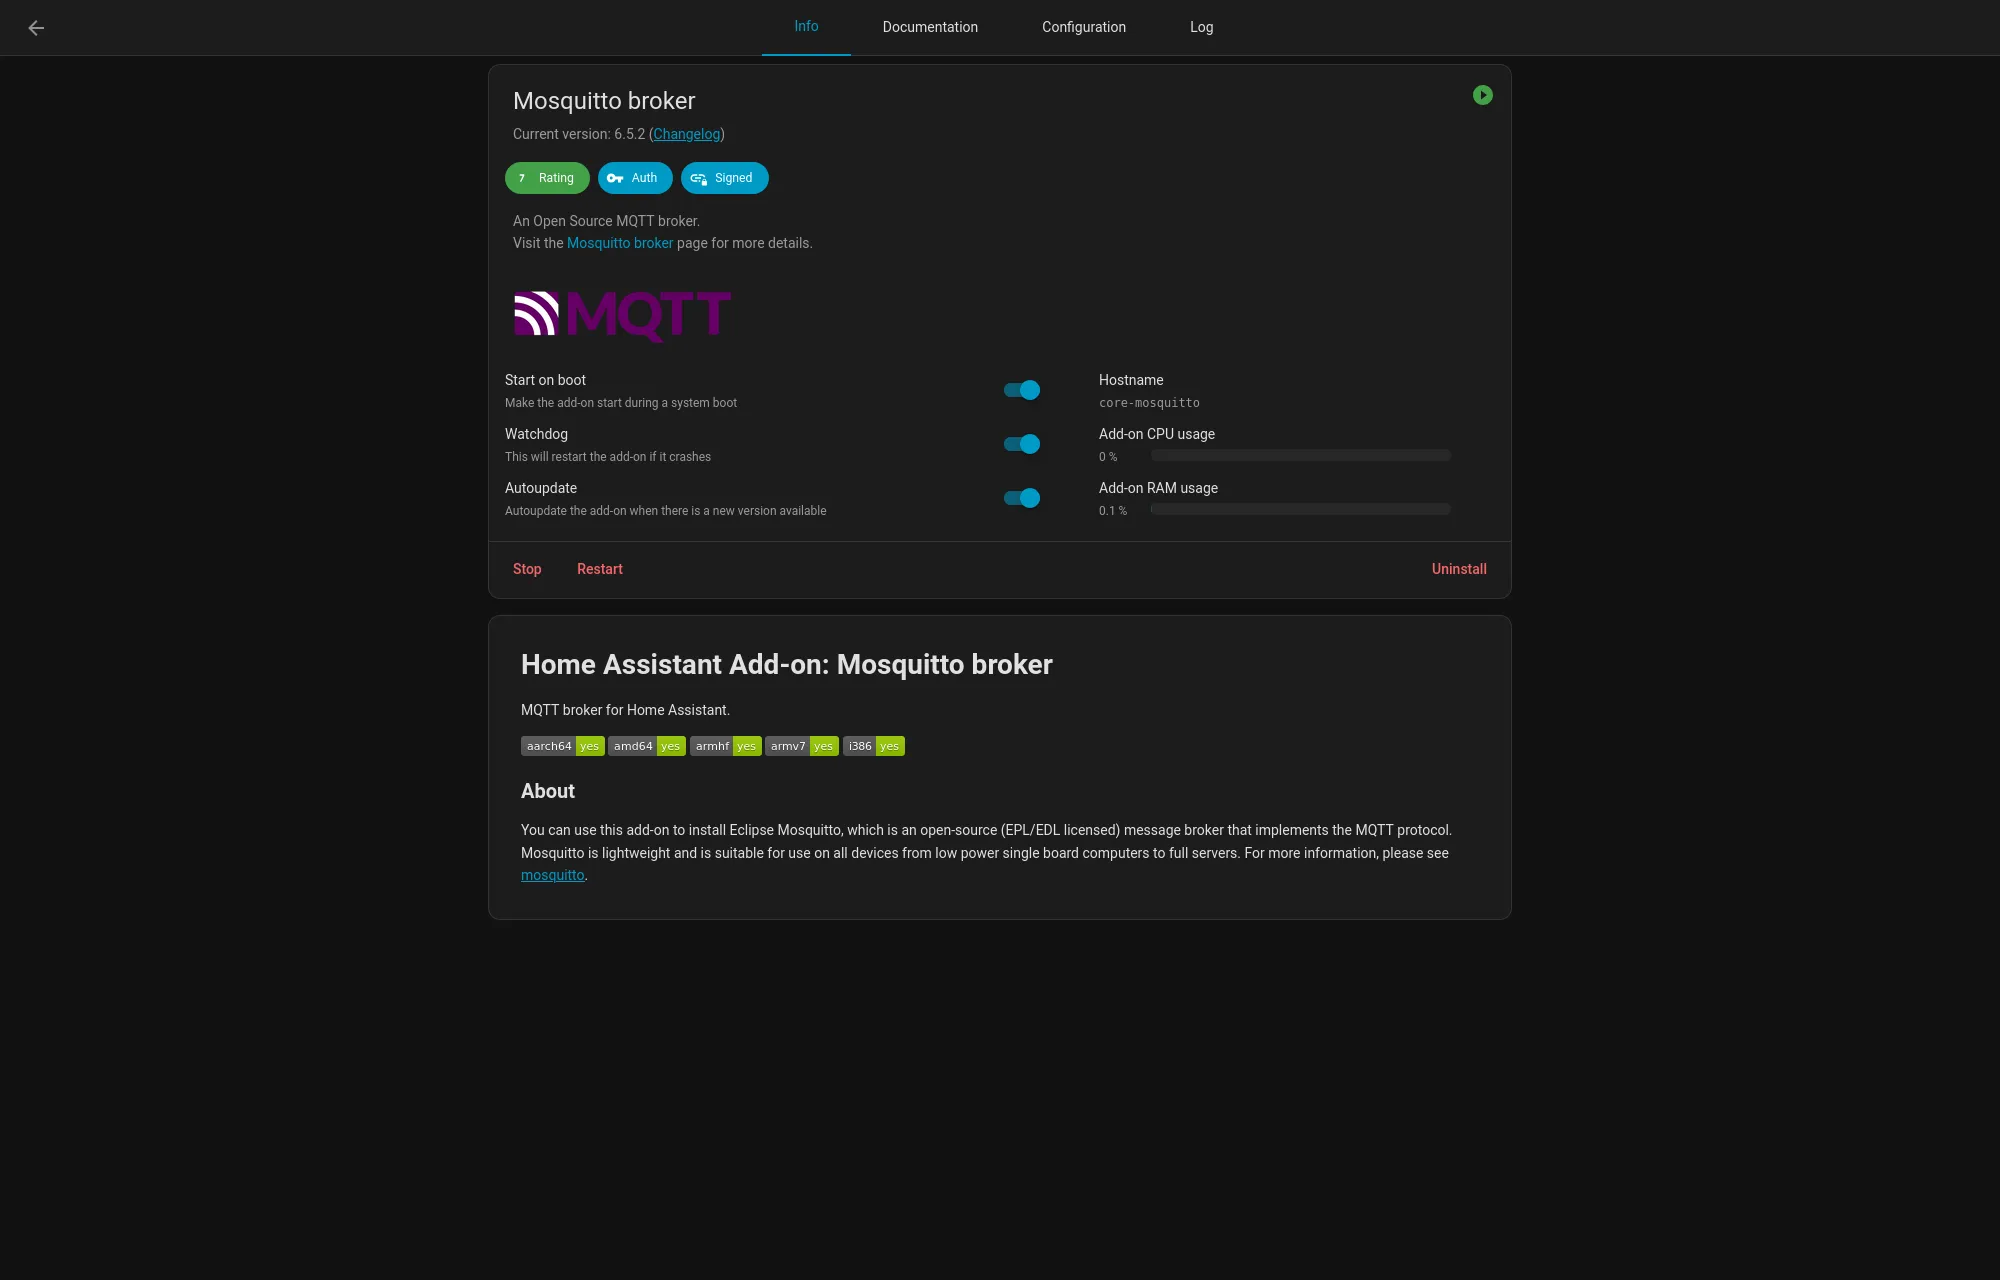
✅ Step 2: Install the MQTT Add-on
Section titled “✅ Step 2: Install the MQTT Add-on”- Go to Settings > Add-ons
- Open the Add-on Store
- Search for Mosquitto broker and install it
- Go in Configuration and in the Customize section, turn on active (the folder name should be
mosquitto). - Click Start, and enable Start on boot and Watchdog This gives your Home Assistant the ability to listen to MQTT messages.
✅ Step 3: Enable MQTT Integration
Section titled “✅ Step 3: Enable MQTT Integration”- Go to Settings > Devices & Services
- Click + Add Integration
- Search for MQTT and add it
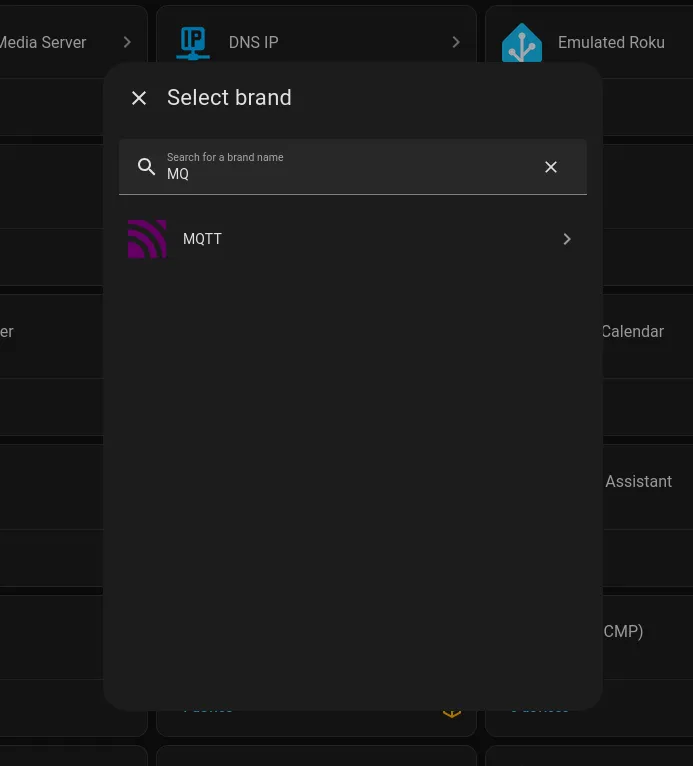
- When prompted, enter the username and password you created in Step 1
Home Assistant will connect to the Mosquitto broker using your dedicated MQTT user.
✅ Step 4: Connect to the Earthquake Alert Server
Section titled “✅ Step 4: Connect to the Earthquake Alert Server”Now comes the magic. You’ll bridge your local MQTT broker to a public server that shares JMA earthquake alerts.
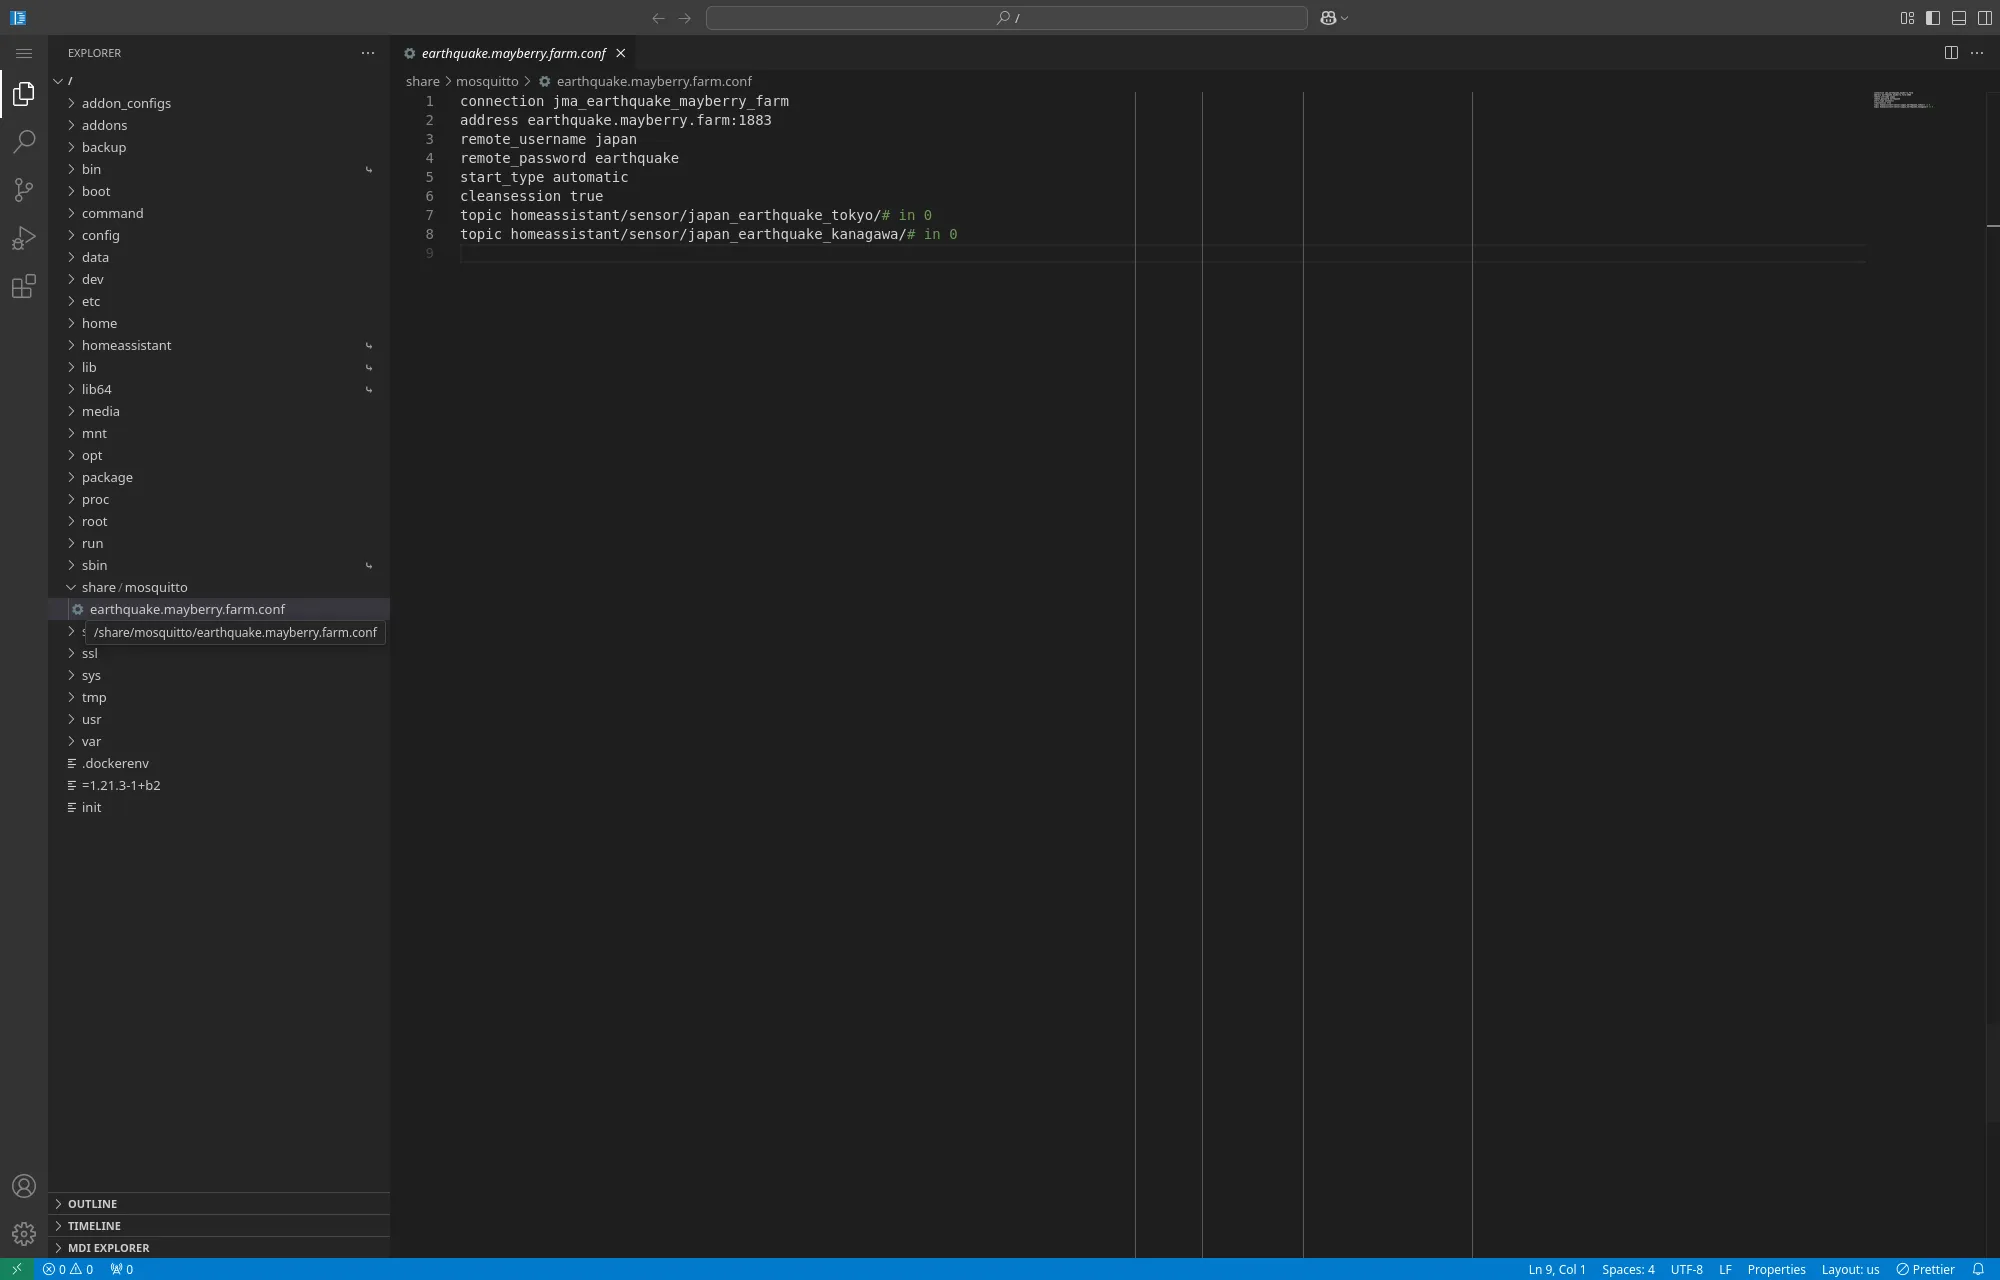
📁 Where to put the file
Section titled “📁 Where to put the file”In Home Assistant OS, create a file at:
/share/mosquitto/earthquake.mayberry.farm.confI personally use the Studio Code add-on to create and edit this file directly from Home Assistant. I had to open the folder / first, then navigate to /share/mosquitto/ to create the new file (it was showing a specific folder by default that confused me).
📝 What to put inside
Section titled “📝 What to put inside”connection jma_earthquake_mayberry_farmaddress earthquake.mayberry.farm:1883remote_username hajmaremote_password hajmastart_type automaticcleansession truetopic homeassistant/sensor/japan_earthquake_tokyo/# in 0topic homeassistant/sensor/japan_earthquake_kanagawa/# in 0This tells your smart home to listen for earthquake alerts in Tokyo and Kanagawa. You can add/remove more regions by adding more topic lines—like Osaka, Hokkaido, or wherever you live. japan_earthquake_any works for all regions.
🌱 What Happens Next?
Section titled “🌱 What Happens Next?”Once connected, Home Assistant will automatically create sensors for each prefecture you subscribed to. You don’t need to write any YAML or install any custom integrations.
These sensors update within about 60 seconds of an earthquake. And from there, you can create automations like:
- Flashing hallway lights
- Sending a phone notification
- Pausing music or turning off appliances
- Logging events for later review
🧘 A Reflection on Quiet Awareness
Section titled “🧘 A Reflection on Quiet Awareness”I didn’t build the MQTT server. I didn’t write any code. I just followed the steps shared by someone in the community—and now my home listens to the earth.
It’s not loud. It’s not dramatic. But it’s fast, and open. And in a country like Japan, where earthquakes are part of life, that quiet awareness feels like a small comfort.